介绍下常见的几种对图片的像素级操作
1.修改颜色 2. 颜色空间变化 3.lsb 隐藏信息 4. 颜色混合 5. 马赛克
介绍
在 iOS图片-位图信息与图片解码 中介绍了位图信息中像素 颜色空间等概念。这次来实践一下如何对图片的像素进行操作。位图又被叫做点阵图像,也就是说位图包含了一大堆的像素点信息,这些像素点就是该图片中的点,有了图片中每个像素点的信息,我们就知道如何对图片进行像素级操作了。
将一张图片修改为蓝色
由于在iOS开发中使用的位图大部分是32位RGBA模式,所以我们先说下这种模式的简单图像处理。
首先我们需要知道什么是32位RGBA模式的位图。32位就表示一个这种模式位图的一个像素所占内存为32位,也就是4个字节的长度。R、G、B、A分别代表red,green,blue和alpha,也就是颜色组成的三原色与透明度值。RGBA每一个占用一个字节的内存。
知道了上面这些,我们就有了思路:通过改变每一个像素中的RGBA值来进行一些位图图像的处理了。
示例代码 效果如下:
将原图片  转换为蓝色图片
1 | //示例1 将一张图片变为蓝色 |
1 | + (UIImage*)sample1With:(UIImage*)originImg |
像素格式色彩空间变为灰色
iOS 支持的组合不多 Supported Pixel Formats
这里尝试将像素格式色彩空间变为灰色 示例代码 效果如下:
将原图片 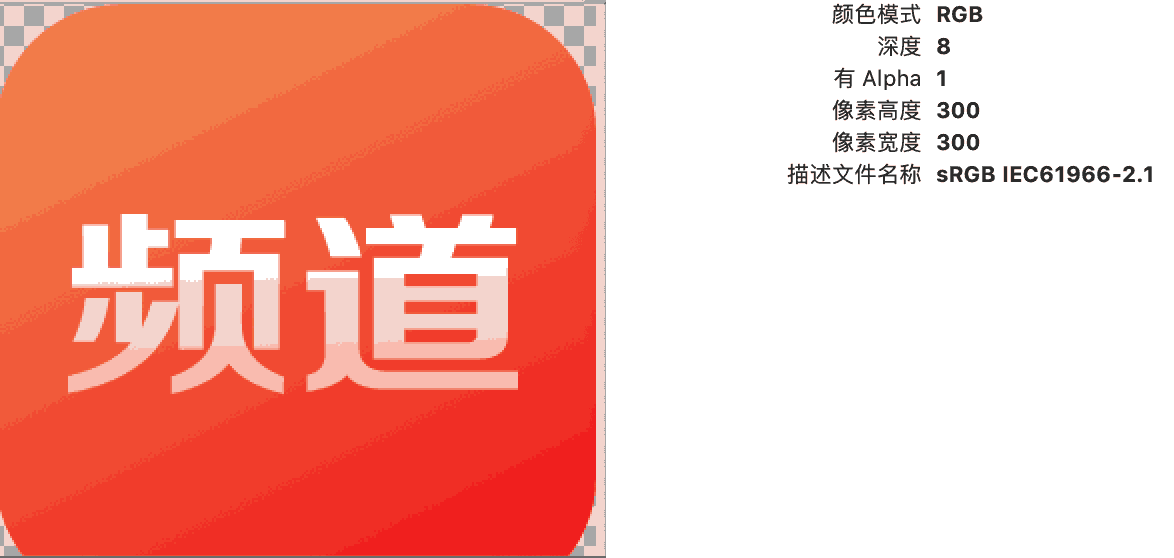 转换为灰色颜色空间图片
1 | //示例2 像素格式 颜色空间变为灰色 |
1 | //...其他同上例 |
LSB方式隐藏二维码到一张图片
LSB,最低有效位,英文是Least Significant Bit 。我们知道图像像素一般是由RGB三原色(即红绿蓝)组成的,每一种颜色占用8位,0x00~0xFF,即一共有256种颜色,一共包含了256的3次方的颜色,颜色太多,而人的肉眼能区分的只有其中一小部分,这导致了当我们修改RGB颜色分量中最低的二进制位的时候,我们的肉眼是区分不出来的。
鉴于LSB想法,一张普通的二维码图片只有黑色和白色。那么对于RGBA的图片 可以修改R的最低位。0表示白色 1表示黑色,这样处理后肉眼看不出原图修改的痕迹。
示例代码 效果如下:
左图是原图 右图是经过LSB操作的图,肉眼完全看不出区别
1 | //示例3 在一张图片中使用lsb方式隐藏二维码 。 |
1 | //MARK: 图片处理 隐藏二维码图片 |
1 | //MARK: 图片处理 解析二维码 |
当然LSB的方式也能隐藏文字等其他信息。与之类似的想法还有 可以根据容差进行信息的隐藏。
若是有两张图片,则对两张图片的每一个像素点进行对比,设置一个容差的阈值α,超出这个阈值的像素点RGB值设置为(255,255,255),若是没超过阈值,则设置该像素点的RGB值为(0,0,0)。因此,通过调整不同的α值,可以使对比生成的图片呈现不同的画面。比如两张图完全一样,设置阈值α为任何值,最后得到的对比图都只会是全黑。若两张图每一个像素点都不同,阈值α设置为1,则对比图将是全白。如果将隐藏信息附加到某些像素点上,这时调整阈值α即可看到隐藏信息。
JPEG压缩
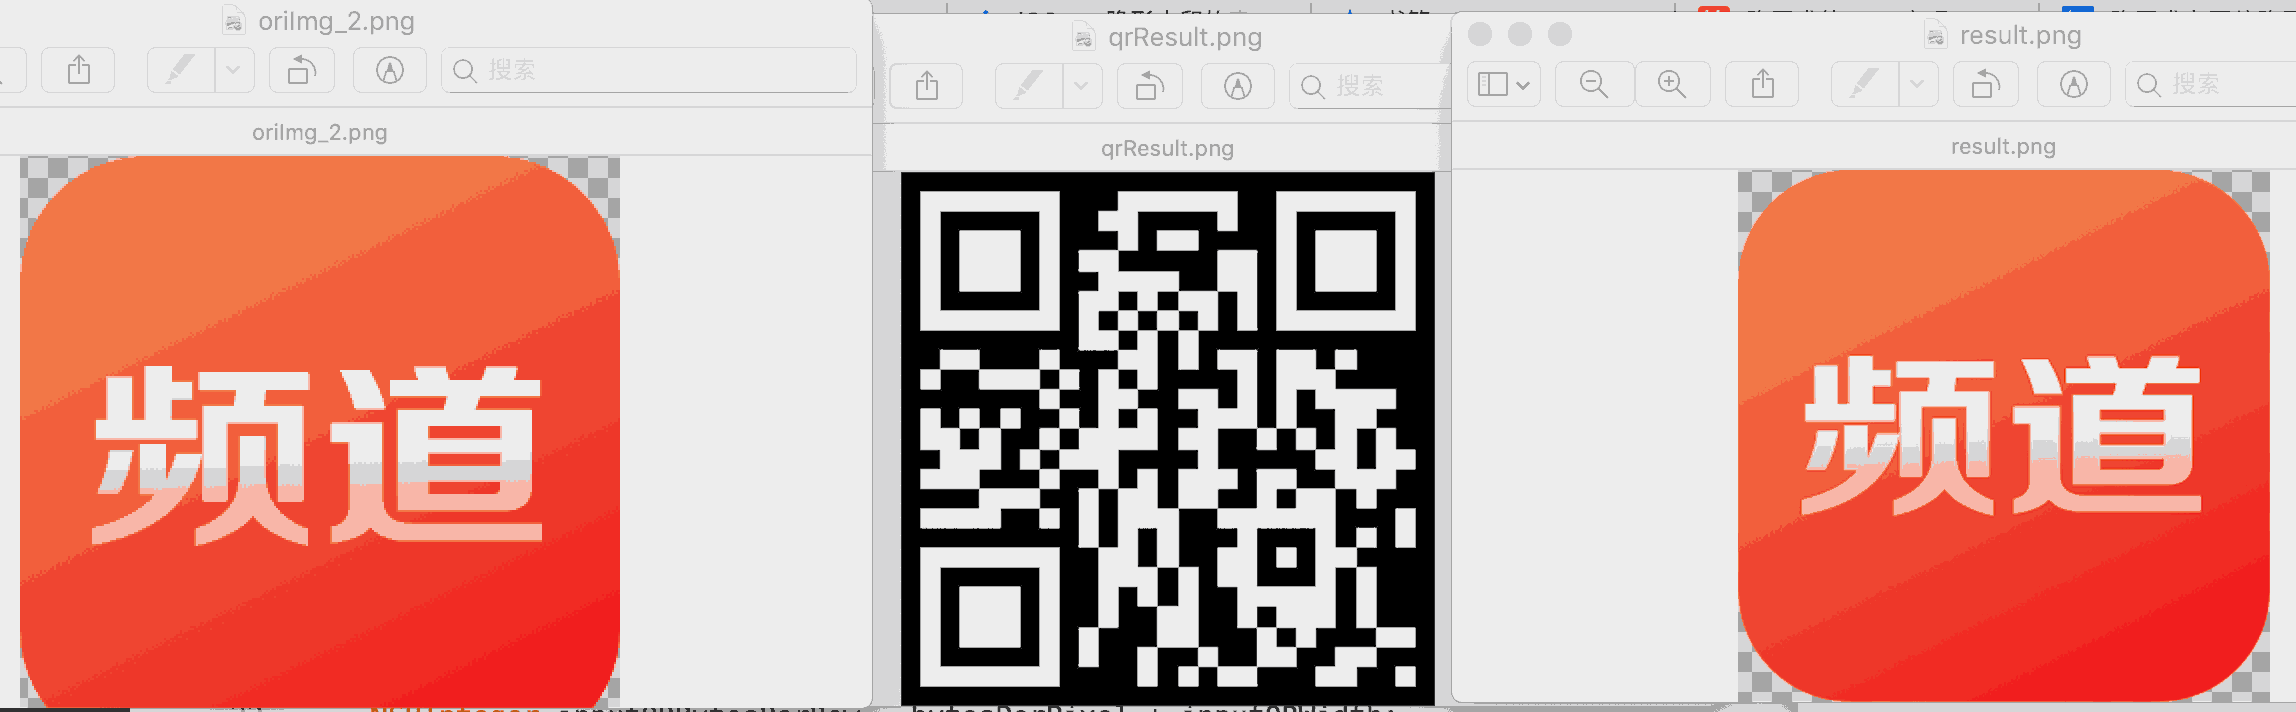
目前例子中有个比较大的问题就是,经过LSB操作后的图片是需要无损的才能 解析出数据来。假设图片经过JPEG压缩后 如下:
1 | //将二维码图片信息藏入原图 得到result |
则qrResult会得到如下图:
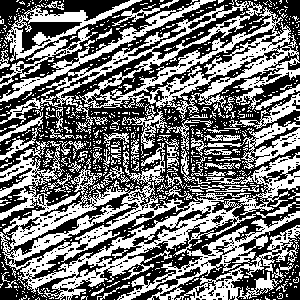
这是由于JPEG图像格式使用离散余弦变换(Discrete Cosine Transform,DCT)函数来压缩图像,而这个图像压缩方法的核心是:通过识别每个8×8像素块中相邻像素中的重复像素来减少显示图像所需的位数,并使用近似估算法降低其冗余度。因此,我们可以把DCT看作一个用于执行压缩的近似计算方法。因为丢失了部分数据,例子中最低位信息其实已经被改变。
混色模式
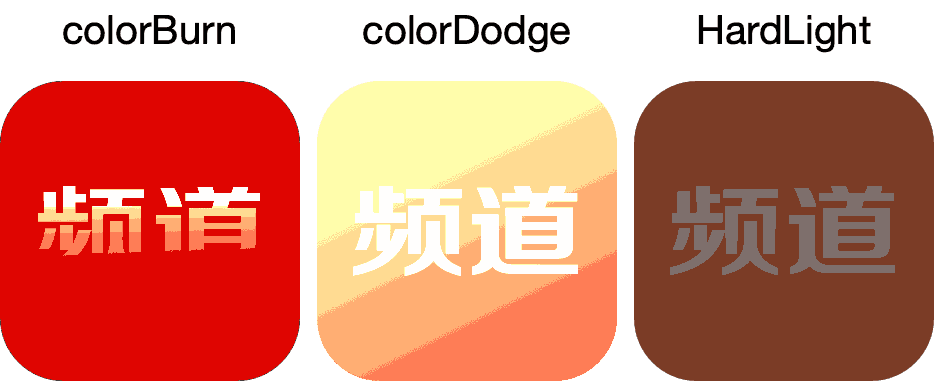
在PS 的混色模式中我们可以看到可以选项,混合模式的基本原理就是取A层任意一个像素a [R1, G1, B1],与B层对应位置的像素b [R2, G2, B2] 进行数学运算,得到c [R3, G3, B3]。有兴趣可以看下 一篇文章彻底搞清PS混合模式的原理
基于这种想法 我们可以模拟下PS的混合模式:
1 | //... |
Color Burn 颜色加深:
1 | + (int)ColorBurn:(int)originValue { |
Color Dodge 颜色减淡:
1 | + (int)ColorDodge:(int)originValue { |
Hard Light 强光:
1 | + (int)HardLight:(int)originValue { |
发现一篇文章 iOS——隐形水印的实现和『颜色加深』算法 文中说用 颜色加深来显示隐形水印,但是我换了几张图片实践了一下 效果不理想。有兴趣的同学可以自己实践下。
马赛克
简单马赛克核心算法的大概原理就是把某一个点的颜色赋值给它周围的指定区域,这个区域大小可以我们自己来定义。
按照这种想法可以做到:

1 | //... |
提取主色调
ref:
iOS-palette
android-palette
js-palette
遍历一遍图片的所有像素信息,然后统计一下哪个RGB值最多,不就是主色调嘛?但是人眼和冷冰冰的数据还是存在差异的。 Palette通过饱和度筛选 颜色区域解决颜色分散来选出主色调。参考iOS图片精确提取主色调算法iOS-Palette
